In the digital age, our computers have become essential tools, harboring not just data, but our entire professional and personal lives. Yet, as we navigate the virtual world, we often overlook the physical health of our devices. Dust accumulation, unclean screens, and sticky keyboards can not only hinder performance but also lead to unforeseen hardware issues down the line. Understanding how to properly clean your computer can feel overwhelming, but it doesn’t have to be. This article aims to equip you with effective DIY computer cleaning solutions that are simple, safe, and impactful, ensuring your device remains in optimal condition. Let’s break down the process, from identifying what needs cleaning to the best practices for maintenance.
Understanding What Needs Cleaning
When embarking on a cleaning mission for your computer, it’s essential to pinpoint the various parts that require attention. Each component plays a role in the overall health and performance of your device. Primarily, we can categorize these components into three main areas: exterior, interior, and peripherals. The exterior includes the casing, keyboard, and monitor, which often collect dust and fingerprints. Inside, fans, heatsinks, and other hardware components can become clogged over time, leading to overheating and performance slowdowns. Finally, don’t forget about your peripherals such as mouse, keyboard, and external storage devices, which also benefit from regular cleaning. Identifying these areas will help streamline the cleaning process.
- Exterior: Casing, keyboard, and monitor
- Interior: Fans, heatsinks, and components inside the tower
- Peripherals: Mouse, keyboard, external devices
Essential Cleaning Materials
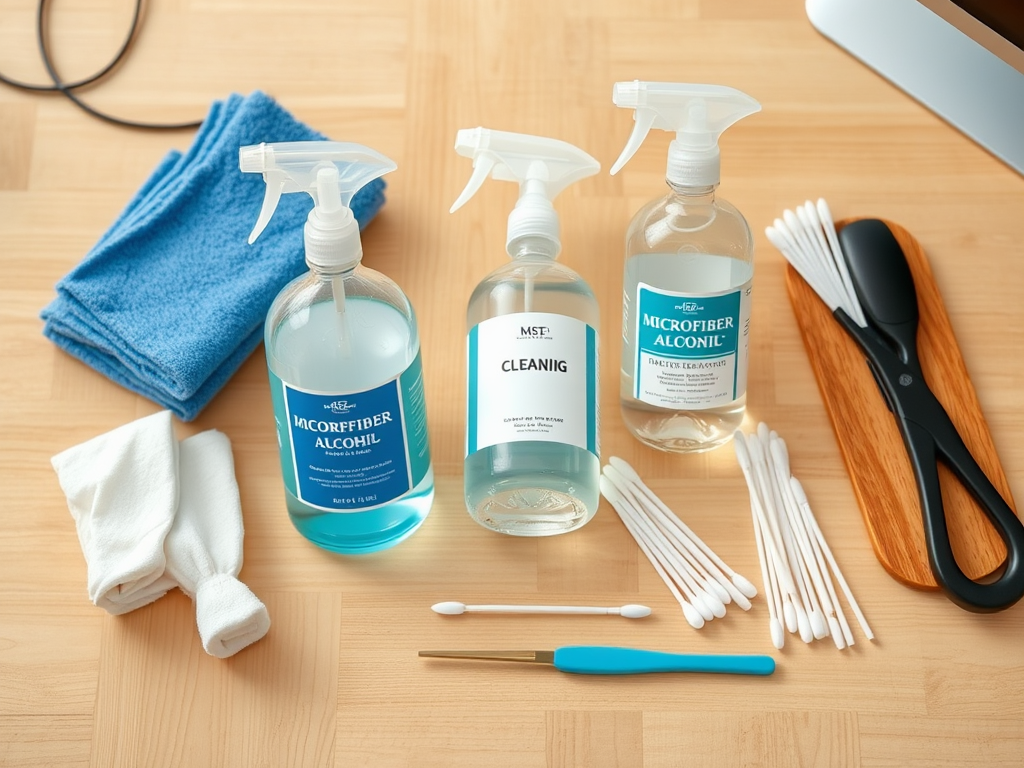
The secret to effective computer cleaning lies not just in techniques but also in the right materials. Using the appropriate tools will enhance your cleaning efforts while ensuring the safety of your components. Here are the essential supplies you’ll need for a thorough clean:
- Microfiber cloths: Perfect for wiping surfaces without scratching.
- Isopropyl alcohol: An effective disinfectant for electronics.
- Compressed air: Great for removing dust from hard-to-reach areas.
- Cotton swabs: Useful for cleaning intricate spaces like between keyboard keys.
- Distilled water: When mixed with isopropyl alcohol, it makes a gentle, safe cleaner.
Step-by-Step Cleaning Process
Embarking on the cleaning journey means following a systematic approach. Begin with the exterior before tackling the interior of your computer. Remember to power off and unplug your device to prevent accidental damage. For the exterior, use a microfiber cloth dampened with a mixture of isopropyl alcohol and distilled water to wipe down the casing, monitor, and keyboard. Don’t underestimate the importance of cleaning around your ports and connectors, as dirt accumulation can lead to connectivity issues.
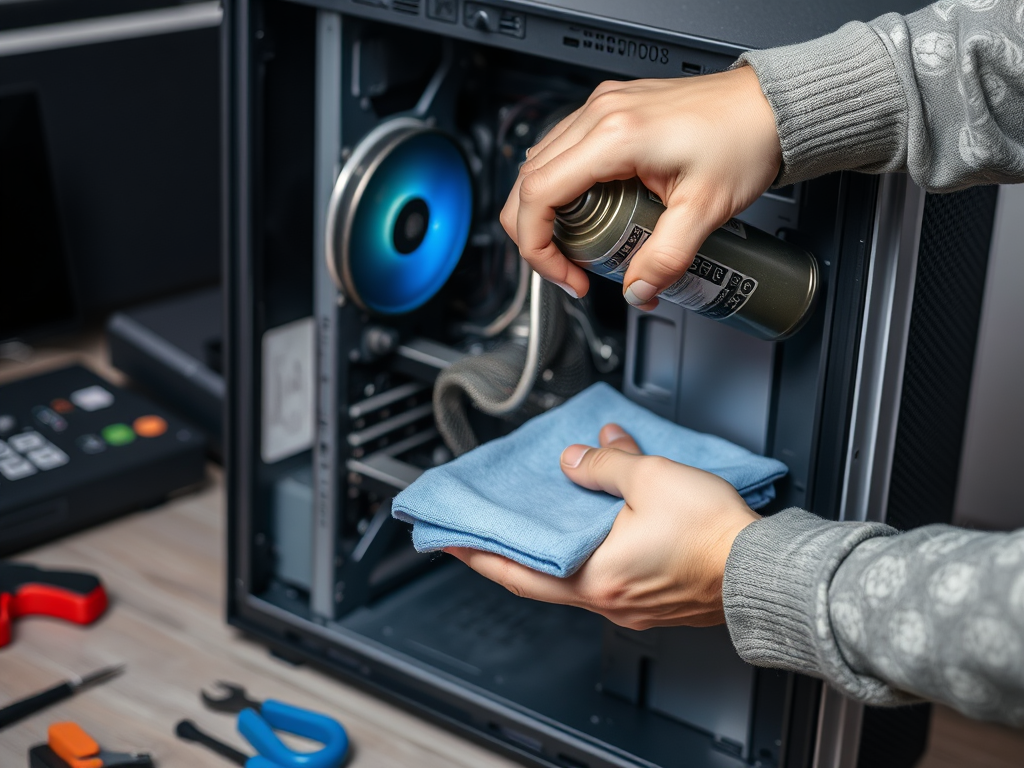
Once the exterior is gleaming, it’s time to move inside your computer. Carefully remove the casing as per your computer’s manual. Use compressed air to blow out the dust that gathers in fans and heatsinks, as this can significantly improve airflow and cooling. If any interior surfaces appear dirty, utilize a lightly dampened cloth, being cautious to avoid sensitive components. And there you have it: a thorough cleaning that leaves your computer refreshed!
| Cleaning Materials | Purpose |
|---|---|
| Microfiber cloths | Wiping surfaces without scratching |
| Isopropyl alcohol | Disinfecting electronics |
| Compressed air | Removing dust from hard-to-reach areas |
| Cotton swabs | Cleaning small crevices |
| Distilled water | Gentle cleaning solution |
Tips for Regular Maintenance
To keep your computer pristine, establishing a regular cleaning routine is essential. Scheduling cleanings every few months prevents dust from accumulating and mitigates long-term damage. Moreover, maintaining a tidy workspace can significantly contribute to cleanliness. By dusting your desktop and avoiding spills, you’ll reduce the dust that inevitably settles on your devices. Additionally, investing in protective covers for keyboards and monitors can offer extra defense against dust and grime.
Conclusion
Cleaning your computer may seem like a daunting task, but with the right tools and techniques, it’s an achievable goal that pays off in the long run. Keeping both the interior and exterior clean enhances performance and contributes to the longevity of your device. As technology continues to evolve, regular maintenance will ensure you stay ahead, providing a seamless experience for your digital life. Embrace these DIY cleaning solutions and watch your computer transform from dusty and tired to sleek and efficient.
Frequently Asked Questions
- How often should I clean my computer? It’s recommended to clean your computer every 3-6 months to prevent dust buildup.
- Is it safe to use water when cleaning electronics? Only use distilled water mixed with isopropyl alcohol to avoid mineral residue or moisture damage.
- Can I use regular household cleaners? No, it’s best to use cleaners specifically designed for electronics to avoid damaging sensitive parts.
- What should I avoid when cleaning my computer? Stay away from abrasive cloths and cleaners, as well as moisture near internal components.
- How can I clean my keyboard effectively? Use compressed air to blow out debris, followed by a damp microfiber cloth for surfaces.