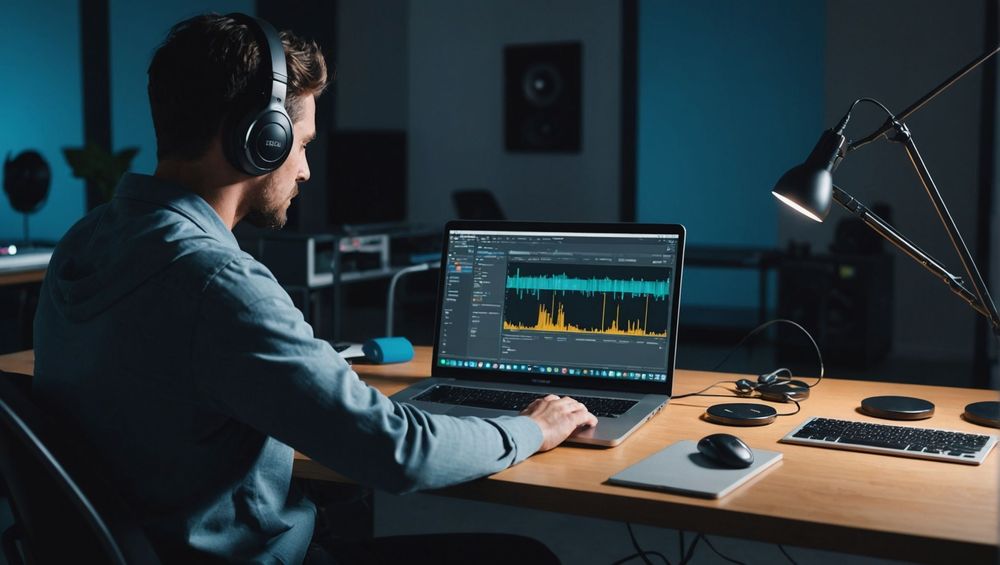
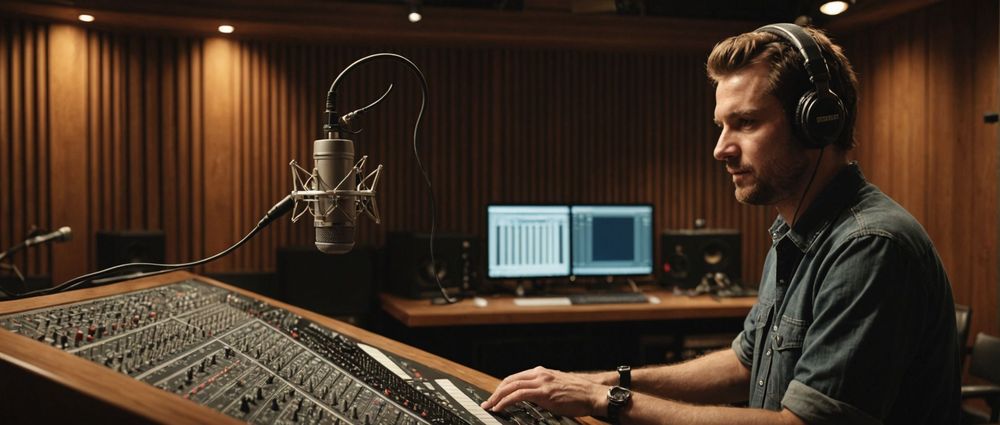
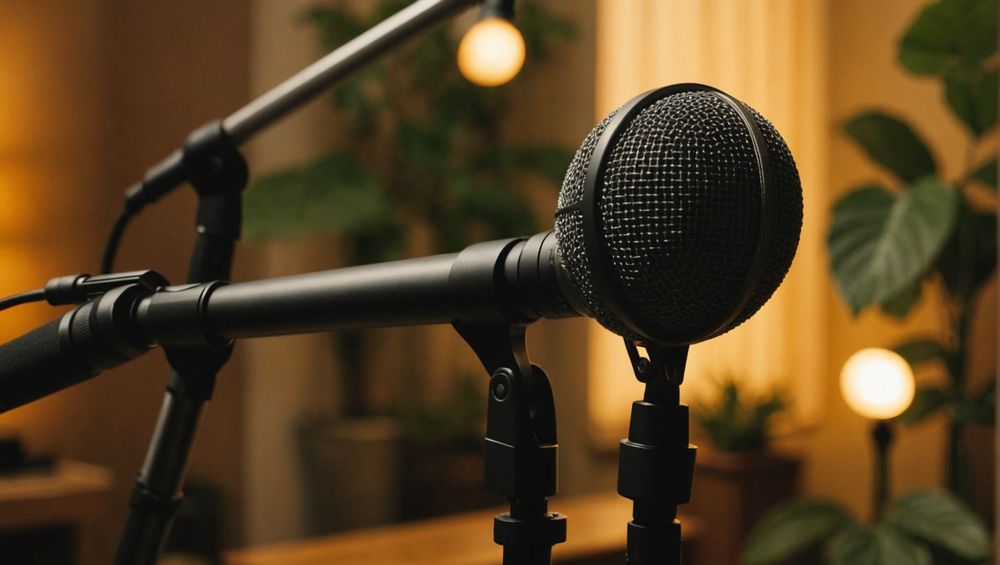
When it comes to ensuring high-quality audio, testing your microphone is essential. Understanding how to evaluate its performance not only enhances your recordings but also ensures clear communication. This article will delve into five effective methods to test the quality of a microphone, providing you with insights to maximize its potential.
1. Conduct a Sound Check
The first step in testing a microphone’s quality is to perform a sound check. This straightforward process allows you to gauge how well the microphone captures sound and whether it reproduces it accurately. Start by connecting the microphone to your recording device or computer. Once set up, speak or sing at varying volumes and distances to test its sensitivity. Pay attention to the following:
- Check for any distortion when speaking loudly.
- Assess how well it picks up softer sounds.
- Test sounds from different angles.
Listening to the playback will give you insights into how well the microphone captures your voice, including clarity and articulation. Make sure to test in a quiet environment to avoid interference from background noise.
2. Use Frequency Response Tests
Another effective way to assess microphone quality is through frequency response testing. This ensures the microphone reproduces sounds across the entire audible spectrum (20 Hz to 20 kHz) without coloration. You can perform this test using various sound-generating programmes or apps designed for audio testing. Play a range of frequencies while monitoring the microphone’s performance:
- Start with lower frequencies (bass) and gradually move to higher frequencies (treble).
- Listen for any drop-offs or spikes in audio levels, which indicates poor response.
- Evaluate the smoothness of the transition between different frequency ranges.
This method will provide a clear understanding of how the microphone performs in capturing various tones, ensuring that your recordings sound natural and true to life.
3. Test with Different Sound Sources
To thoroughly evaluate a microphone’s capabilities, test it with various sound sources. This includes vocals, musical instruments, and ambient sounds. Such diverse testing helps you understand how the microphone reacts to different tonal ranges. Follow this procedure for optimal results:
- Record a soft vocal track, focusing on nuanced details.
- Play an acoustic instrument and capture its timbre.
- Gather environmental sounds to assess ambient sensitivity.
Listening closely to each recording will help determine how well your microphone handles different sounds, ensuring it meets your specific needs. Each sound source will reveal unique characteristics of the microphone, leading to informed decisions about its suitability for various applications.
4. Assess Background Noise Handling
A critical aspect of any microphone’s quality is its ability to manage background noise. Whether you’re in a bustling environment or a quiet room, a good microphone should isolate the desired sound while minimizing unwanted noise. To evaluate this, consider the following steps:
- Record in both quiet and noisy settings.
- Listen for any excess noise captured alongside your primary audio.
- Adjust mic gain levels to see if it impacts background noise filtration.
This assessment will be particularly beneficial for podcasters and musicians who require clarity in their recordings, as it illustrates the microphone’s versatility in various scenarios.
5. Check for Proximity Effect
Finally, understanding the proximity effect is essential when testing microphone quality. Most directional microphones (like cardioid mics) exhibit an increase in bass response when you are close to the mic, which can either be advantageous or detrimental, depending on your recording needs. Here’s how to assess this effect:
- Stand close to the microphone and record your voice at different distances.
- Compare recordings to examine how the bass response changes.
- Decide if the proximity effect aligns with your intended sound.
The results from this test can significantly affect how you position the microphone during recordings, aiding in achieving the desired tonal quality.
Conclusion
Testing the quality of a microphone is crucial for achieving optimal audio clarity and fidelity in your recordings. By conducting sound checks, utilizing frequency response tests, experimenting with different sound sources, assessing background noise handling, and checking proximity effects, you can uncover a microphone’s true capabilities. These methods not only ensure that your microphone delivers the best sound quality but also empower you to choose the right equipment for your specific needs.
FAQs
1. How often should I test my microphone?
It’s advisable to test your microphone regularly, especially before important recordings or events, to ensure it’s functioning at its best.
2. Do all microphones have a proximity effect?
Most directional microphones exhibit a proximity effect, while omnidirectional mics do not significantly change their sound based on distance from the source.
3. What is the importance of frequency response?
Frequency response determines how accurately a microphone can capture sound across different tones, influencing the overall quality of recordings.
4. Can background noise affect recording quality?
Yes, background noise can hinder the clarity of recordings, making it essential to use microphones that effectively manage noise in their environment.
5. What should I do if my microphone captures too much background noise?
Consider using a microphone with better noise rejection qualities, adjusting the recording environment, or utilizing software tools for noise reduction.